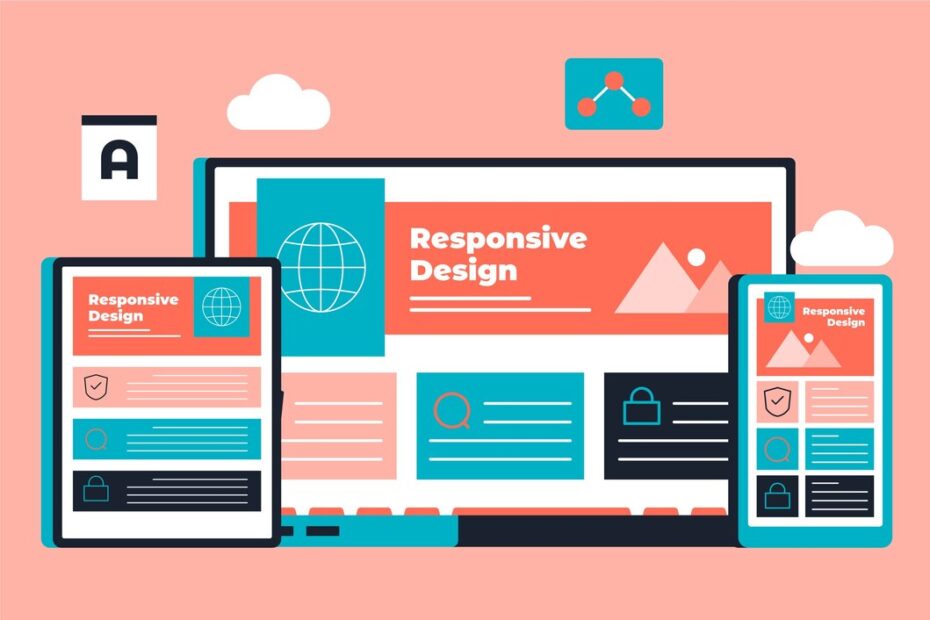
In the modern web development landscape, creating dynamic and responsive web applications is essential for providing a seamless user experience. React and Redux have emerged as powerful tools to build such applications efficiently. This article will guide you through the process of developing a dynamic and responsive web application using React and Redux.
Enozom has embraced modern web development technologies, particularly React and Redux, to create dynamic and responsive web applications. These tools enable Enozom to build applications that are not only visually appealing but also robust and performant. By utilizing React and Redux, Enozom ensures that their applications can handle complex user interactions and state management efficiently.
React and Redux
React
React is a popular JavaScript library for building user interfaces, particularly single-page applications where you need a fast and interactive experience. Developed by Facebook, React allows developers to create large web applications that can update and render efficiently in response to data changes. The core concept of React is the component, which is a self-contained module that renders some output.
Redux
Redux is a predictable state container for JavaScript apps. It helps manage the state of your application in a consistent way, making it easier to reason about state changes. Redux is commonly used with React to handle complex state management in a more structured and maintainable way.
Setting Up Your Environment
Before you start coding, ensure you have Node.js and npm (Node Package Manager) installed on your machine. You can install them from the official Node.js website. To create a new React project, use the Create React App tool, which sets up everything you need to run a React application.
Building Components
Components are the building blocks of a React application. Let’s start by creating a simple component.
Creating a Header Component
A header component can serve as the top section of your web application, typically containing the title or navigation elements. After creating this component, include it in your main application file to display it on the web page.
Adding Redux
To manage the state of our application, we’ll integrate Redux. First, install Redux and React-Redux packages. Setting up Redux involves defining the initial state, creating a reducer to manage state changes, and creating the Redux store. The store is then integrated with your React application by wrapping your main component with the Provider component from React-Redux.
Setting Up Redux
The initial state is a plain JavaScript object representing the data structure of your application. A reducer function is created to handle actions dispatched to the store and return the new state based on the action type.
Connecting Components to Redux
With Redux set up, you can now connect your components to the Redux store. This allows your components to read data from the store and dispatch actions to modify the state. Using hooks like useSelector and useDispatch from React-Redux, you can easily access the state and dispatch actions within your components.
Making the Application Responsive
To make the application responsive, use CSS media queries. Media queries allow you to apply different styles depending on the screen size, ensuring your application looks good on both desktop and mobile devices. Define styles for various screen sizes, such as adjusting font sizes and padding for smaller screens, to enhance the user experience.
Conclusion
In this article, we have created a basic React application, integrated Redux for state management, and added some CSS to make responsive web applications. This is just the beginning of what you can do with React and Redux. As you continue to develop your application, you’ll explore more advanced features like middleware, routing, and asynchronous actions.
